
Once you understand what's actually happening in the pan, searing a steak properly becomes almost foolproof. Here's exactly how to do it.
## Start With a Steak That's Actually Ready to Sear
The crust you're after depends heavily on what condition the steak is in before it even hits the pan.
- **Pat it completely dry.** Any surface moisture creates steam instead of a sear, and steam is the enemy of a good crust. Use paper towels and really work the surface dry.
- **Let it come to room temperature.** A steak straight from the fridge cooks unevenly, often burning on the outside before the inside catches up. Let it sit out for about 30-40 minutes before cooking.
- **Season generously, and do it early or right before cooking.** Salt draws out moisture initially, so either salt it well ahead of time (at least 40 minutes, so the moisture reabsorbs) or right before it hits the pan. Salting in between those windows can leave the surface slightly damp.
A heavy pan that holds and distributes heat evenly makes a noticeable difference. Cast iron is the gold standard for searing because it gets extremely hot and stays hot, even when a cold steak is placed in it. Stainless steel also works well. Nonstick pans generally aren't ideal here, since they don't get hot enough for a proper sear and can't handle high heat as safely.
## Get the Pan Properly Hot Before the Steak Goes In
This is the step most people rush, and it's the one that matters most. The pan needs to be hot enough that the steak sizzles immediately and aggressively the moment it touches the surface.
- Heat the empty pan over medium-high to high heat for a few minutes before adding any oil.
- Add a high smoke point oil, like avocado, canola, or refined vegetable oil, once the pan is hot. Butter alone burns too quickly at this heat, though it's great added later.
- The oil should shimmer, and possibly even show the faintest wisp of smoke, before the steak goes in.
If the steak doesn't sizzle loudly the second it touches the pan, the pan wasn't hot enough yet.
## Don't Move the Steak Once It's in the Pan
This is where instinct works against most home cooks. It's tempting to shuffle the steak around, but doing so disrupts the crust that's trying to form. Place the steak down and leave it alone.
- Let it sear undisturbed for 2-4 minutes, depending on thickness, before even attempting to check it.
- Use tongs to lift a corner and peek underneath. If it's a deep golden-brown, it's ready to flip. If it's pale, give it more time.
- Resist poking, pressing, or repeatedly flipping. Each flip resets the browning process and results in a less developed crust.
## Flip Once, Then Baste for Extra Flavor
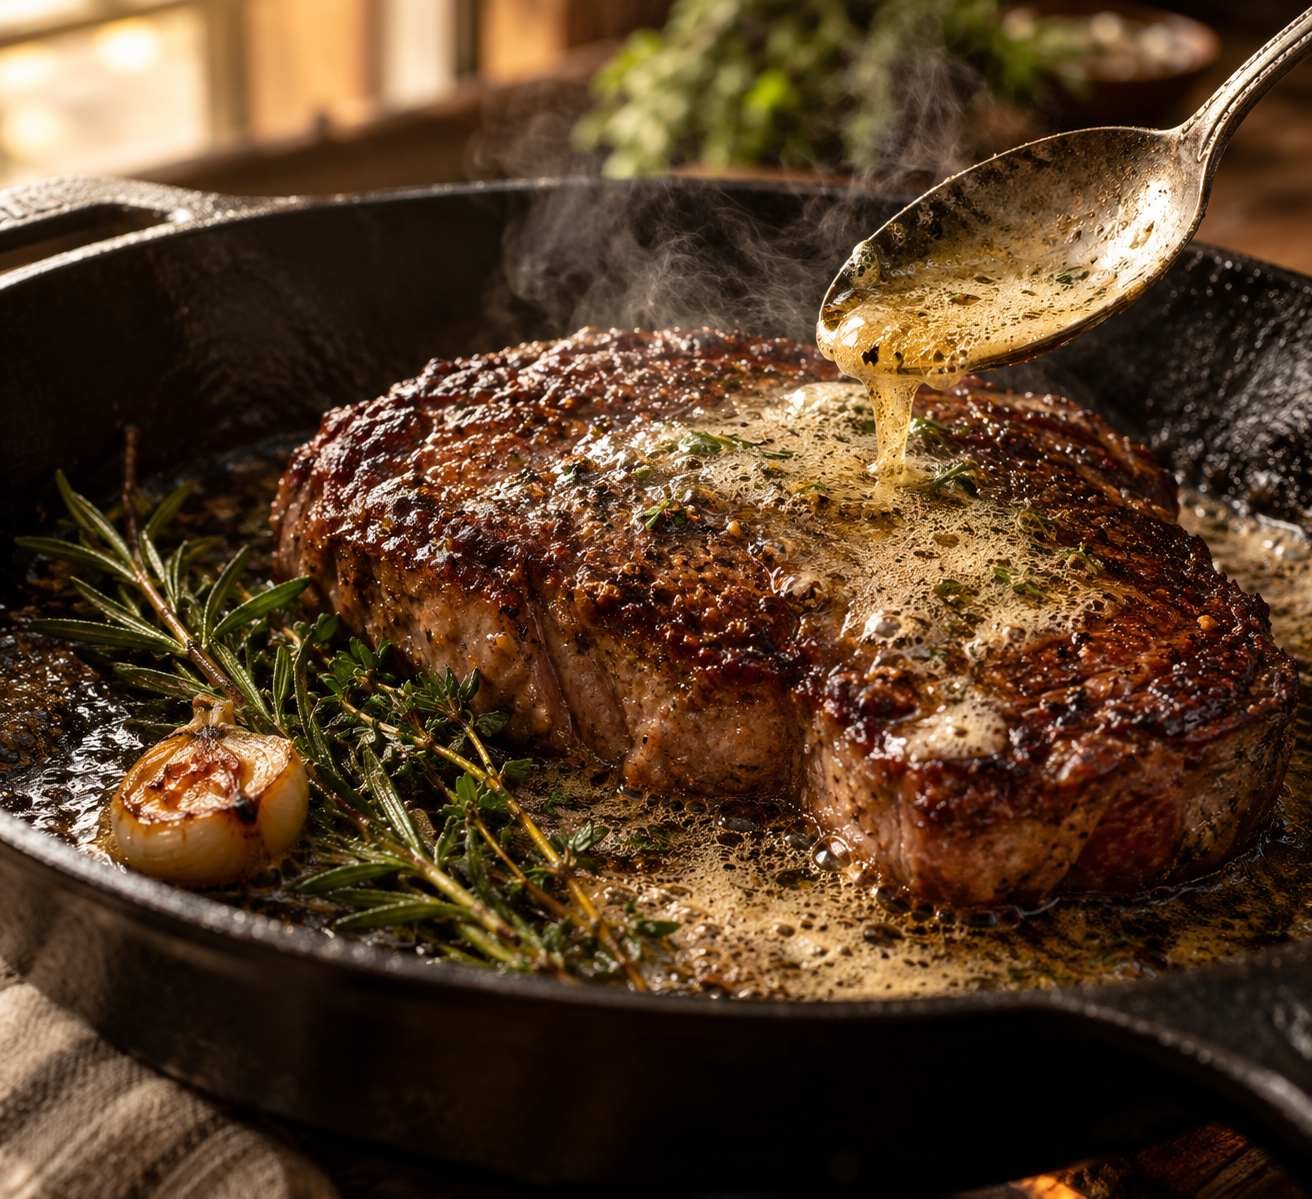
Once that first side has a solid crust, flip the steak just once and let the second side develop the same way. This is also the perfect moment to add butter, garlic, and fresh herbs like thyme or rosemary to the pan.
- Tilt the pan slightly and use a spoon to continuously baste the steak with the melted, flavored butter as it finishes cooking.
- This adds a rich, aromatic layer of flavor on top of the crust you already built, and helps keep the steak from drying out.
## Use a Thermometer Instead of Guessing
Cutting into a steak to check doneness lets valuable juices escape before it's rested. Instead, use an instant-read thermometer inserted into the thickest part of the steak:
- Rare: about 120-125°F
- Medium-rare: about 130-135°F
- Medium: about 140-145°F
- Medium-well: about 150-155°F
- Well-done: 160°F and above
Pull the steak from the heat a few degrees before your target temperature, since it will continue cooking slightly while resting.
This step gets skipped constantly, and it undoes a lot of the hard work that came before it. Cutting into a steak immediately after cooking lets all the juices run straight onto the cutting board instead of staying in the meat.
Let the steak rest, loosely tented with foil, for about 5-10 minutes depending on its size. This allows the juices to redistribute throughout the steak, resulting in a noticeably juicier bite.
## For Thicker Cuts, Finish in the Oven
If you're working with a particularly thick steak (over 1.5 inches), searing alone might brown the outside before the inside reaches your target temperature. In that case, sear both sides in a hot, oven-safe pan first, then transfer the entire pan to a preheated oven (around 400°F) to finish cooking through evenly. This method, often called reverse-searing in some variations, gives you a well-developed crust without overcooking the exterior.
## Common Mistakes That Ruin a Sear
- **A crowded or too-small pan.** This traps steam and prevents proper browning. Give the steak room to breathe, or cook one at a time in a smaller pan.
- **Skipping the dry-off step.** Even a small amount of surface moisture significantly weakens the sear.
- **Flipping too often.** Constant flipping never lets a real crust form.
- **Cutting immediately after cooking.** This is the fastest way to lose all that flavorful juice you just worked to lock in.
- **Using a cold steak straight from the fridge.** This leads to an unevenly cooked interior no matter how well the sear itself goes.
## Final Thought
A properly seared steak comes down to a few fundamentals done well: a dry, room-temperature steak, a properly preheated pan, patience while it cooks undisturbed, and a real resting period before cutting in. None of it requires professional training, just attention to the small details that most people accidentally skip. Get those right, and a steakhouse-quality crust is well within reach in your own kitchen.
Frequently Asked Questions
How do I comment on a Articlesblog article?
Scroll to the Comments section at the bottom of any article, enter your name, email, and message, and click Post Comment. No account is needed, but every comment is moderated — it appears publicly only after the editorial team approves it. See the Privacy Policy for how details are handled.
Why hasn't my comment appeared?
Comments are held for review by default. If yours has not appeared, it is still pending or was rejected during moderation; approved comments appear on the article automatically. If it has been waiting more than a day or two, send a note through the contact page.
How do I share a Articlesblog article?
Every article has a share bar with buttons for Facebook, X, Pinterest, LinkedIn, WhatsApp, Threads, Instagram, TikTok, and YouTube, plus a Copy Link button. Clicking a button opens that network's share window with the article link and title already filled in.
How does Articlesblog pick related articles?
The Related Articles sidebar and the More to Read section show up to four other published articles from the same category, ranked by view count, with popular articles from elsewhere on the site added when the category is new. Tags under each article link to related searches.
Does an article show when it was last updated?
Article pages show the author, publish date, reading time, and view count. A separate last-updated date is not displayed at present, so treat the publish date as the article's currency. Ask the team about a specific article's revision history via the contact page.
Comments (0)
Be the first to comment!
Leave a Comment